
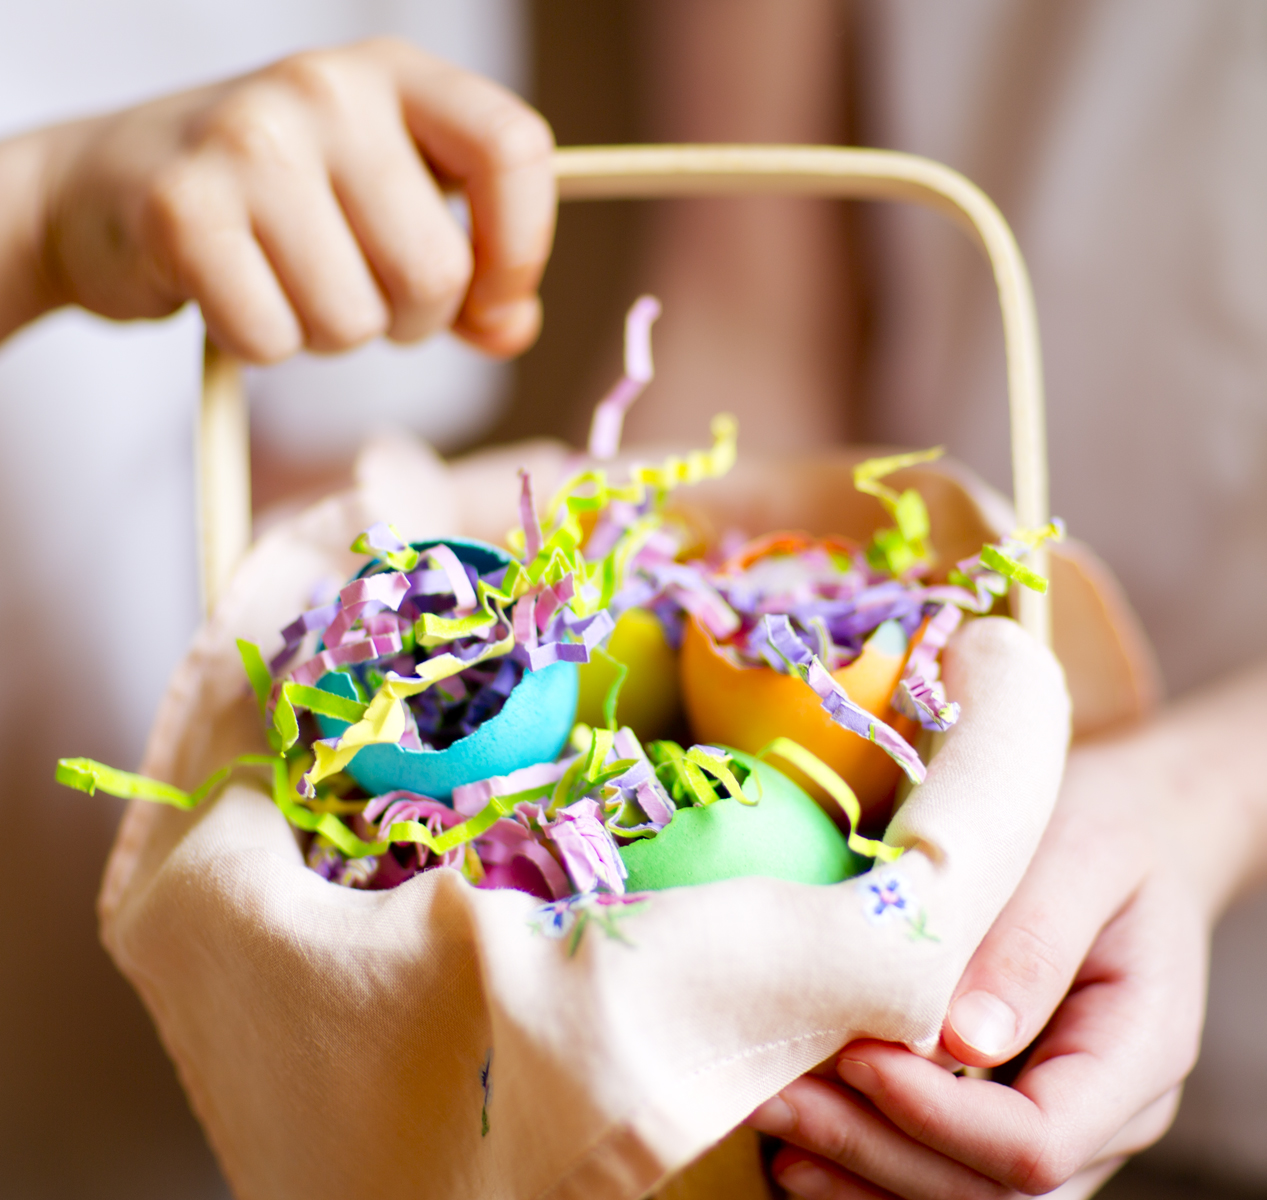
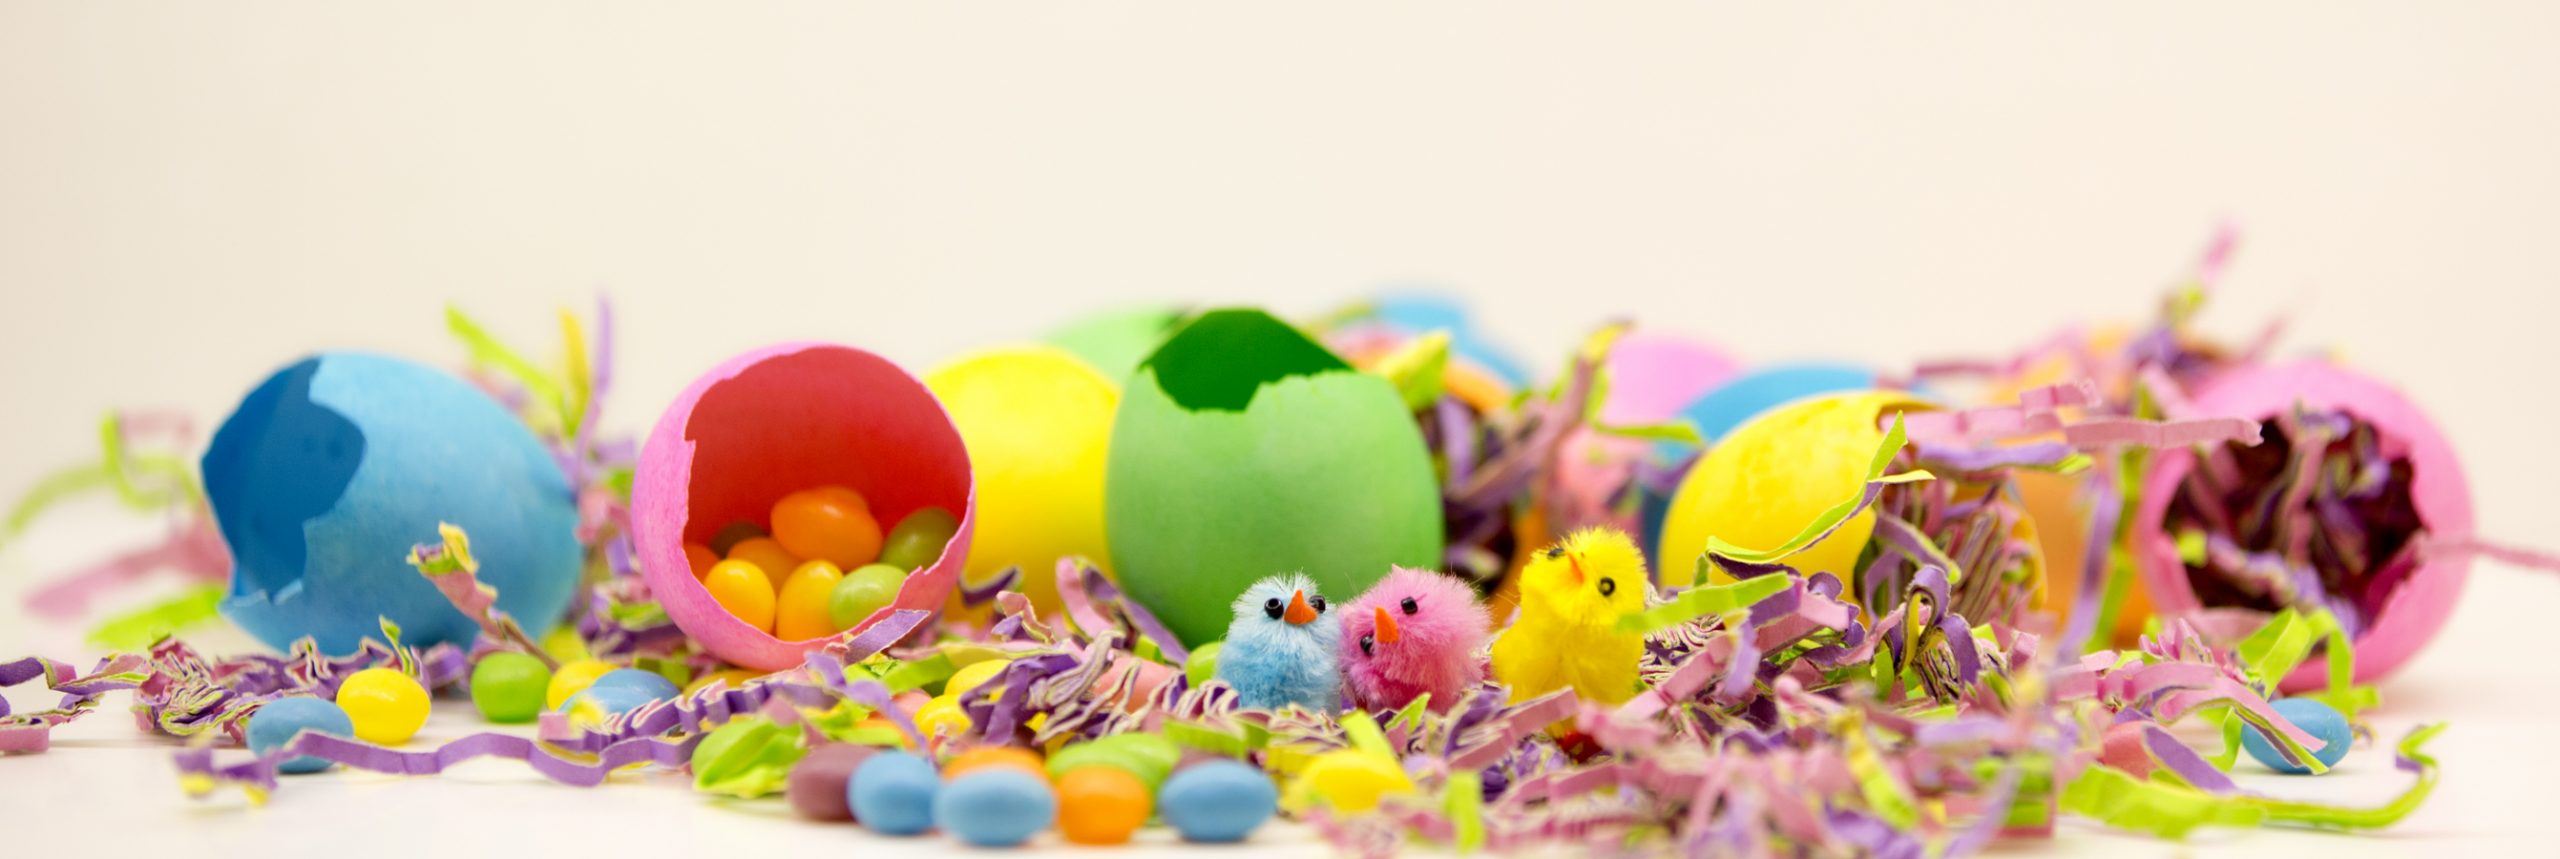
Falling on April 4 this year, Easter is just around the corner. Thoughts of egg dyeing and decorating are paramount in the minds of children and adults alike. Here is a different take on a centuries-old tradition.
The idea is to have a hollowed-out eggshell, which can then be dyed and subsequently filled with pretty shredded paper and small goodies such as jelly beans or chocolate pieces. Empty eggs can also be left out for the Easter Bunny to fill before hiding. The hollowed-out eggs can provide decorations around the home, too.
Method
Gather together the eggs for dyeing. Chicken eggs are the least costly to purchase, especially if you buy non-organic white eggs. If variety is your game, a mixture of white and brown eggs can be fun, as the dye will look different on each colored egg. If planning on saving and eating the egg interior, organic may be a better choice.
To begin, puncture the pointy end side of the egg with a very sharp paring knife. Sometimes it takes several blows to get through the shell. As soon as possible, the bits of shell can be pulled off the main body of the egg. The idea is to keep at least ¾ of the egg body intact, while removing the top ¼ and the interior egg itself. If saving the eggs for future use, allow the liquid to run out of the shell into a bowl. If not saving the eggs, the liquid can run into the kitchen sink while water gently flows from the faucet to help clean out the interior of the eggshell. It is quite important to remove the entire interior of the egg to prevent bad smells.
Next, prepare egg dye. Lots of commercial dye kits are available, but dyes can be made without buying a kit. All you need is liquid food coloring and vinegar or lemon juice. The acid is what sets the dye.
Here is a quick recipe:
1 teaspoon white vinegar or lemon juice
20 drops of food coloring
½ cup very warm water
Be careful about the bowls or cups you use for the dyeing, as the stains can be hard to remove. Plastic, disposable cups are a good choice.
Make your dye and submerge the egg. Remember that the longer the time in the dye, the more brilliant the colors. You can also try mixing colors to get more options. A mixture of red and blue will make purple, for example.
It is always fun to see the colors appear on the eggs, particularly if using both white and brown eggs. For deeper colors, simply leave the eggs in the dye bath longer.
Set up some sort of drying area. A wire-screened baking rack is a great way to let the eggs dry totally as the airflow is not constricted. Allow time for the eggs to dry completely, which can take a few hours or overnight. Then leave the eggs out for the Easter Bunny or get going on the fillings yourself!


And when life gives you eggs . . .
Quiche Lorraine
Courtesy of Ginny Murphy
Pastry
½ cup butter
1 cup flour
Pinch of salt
2 tablespoons half-and-half or whole milk
Preheat oven to 375 degrees F. Cut butter into flour with pastry cutter or two knives until it is the size of small peas. Add salt and cream.
Put into Cuisinart and pulse with steel blade until it forms a ball. Don’t overprocess.
At this point, if you have time, wrap your dough in plastic wrap and put in the refrigerator for an hour or two to let it rest. This will make a lighter crust.
If you don’t have the time, then roll it out, press into a pie dish, prick with a fork, and prebake in oven for about 5 minutes. Watch carefully.
Filling
½ pound of bacon, cut up, cooked, drained
4 eggs beaten, with:
1¾ cups whole milk or half-and-half
1 teaspoon salt
Pinch of white pepper and cayenne
Cheese
¼ pound of cheddar, Swiss
2 ounces Gruyere
Layer the filling and cheese on top of the pie crust and bake for 35 to 45 minutes. Allow to cool 15 minutes before serving.